I created a new page on my blog dedicated to How To’s type of posts where I will be sharing everything I know about running your blog and business. So welcome to my first post about begginer photography tips.
Photography is a beautiful form of artistic expression and a fantastic way to express your creativity. Now before you switch off and think, I’m not creative, let me stop you right there and tell you that’s precisely what I felt myself, and with a lot of practice I have finally accepted that I’m a creative. I finally have enough confidence to share everything I know to help you live a location independent lifestyle. My favourite thing about running my own business is that I can work from anywhere as I have built transferable skills such as photography. Therefore I wanted to reach you beginner photography tips.
Here are my best five tips that will help you switch from basic to professional looking photos.
Shoot Raw
Shooting raw means that your camera will capture enough data when taking a photo to allow your photo to be more exciting and have more texture and depth. Shooting raw does take up more space on your memory card, but at the same time, it will teach you how to shoot better quality photos and less of — quality over quantity. In my photography guide to beginners, I share how you can shoot raw images on your Smartphone, so you practice this even before you invest in an expensive DSLR.
Lighting
Now I pretty sure this is not the first time you hear that light can make or break your photo and I wanted to teach you two basic lighting concepts which are position and strength of the light source.
Let’s assume we are shooting outdoors and the sun is our light source. When it comes to position the light source can be positioned to the front, side and the back of the subject all of which provide different effects to your photos. Since we are at a beginner stage lets assume we are shooting with the light source positioned at the front of a subject.
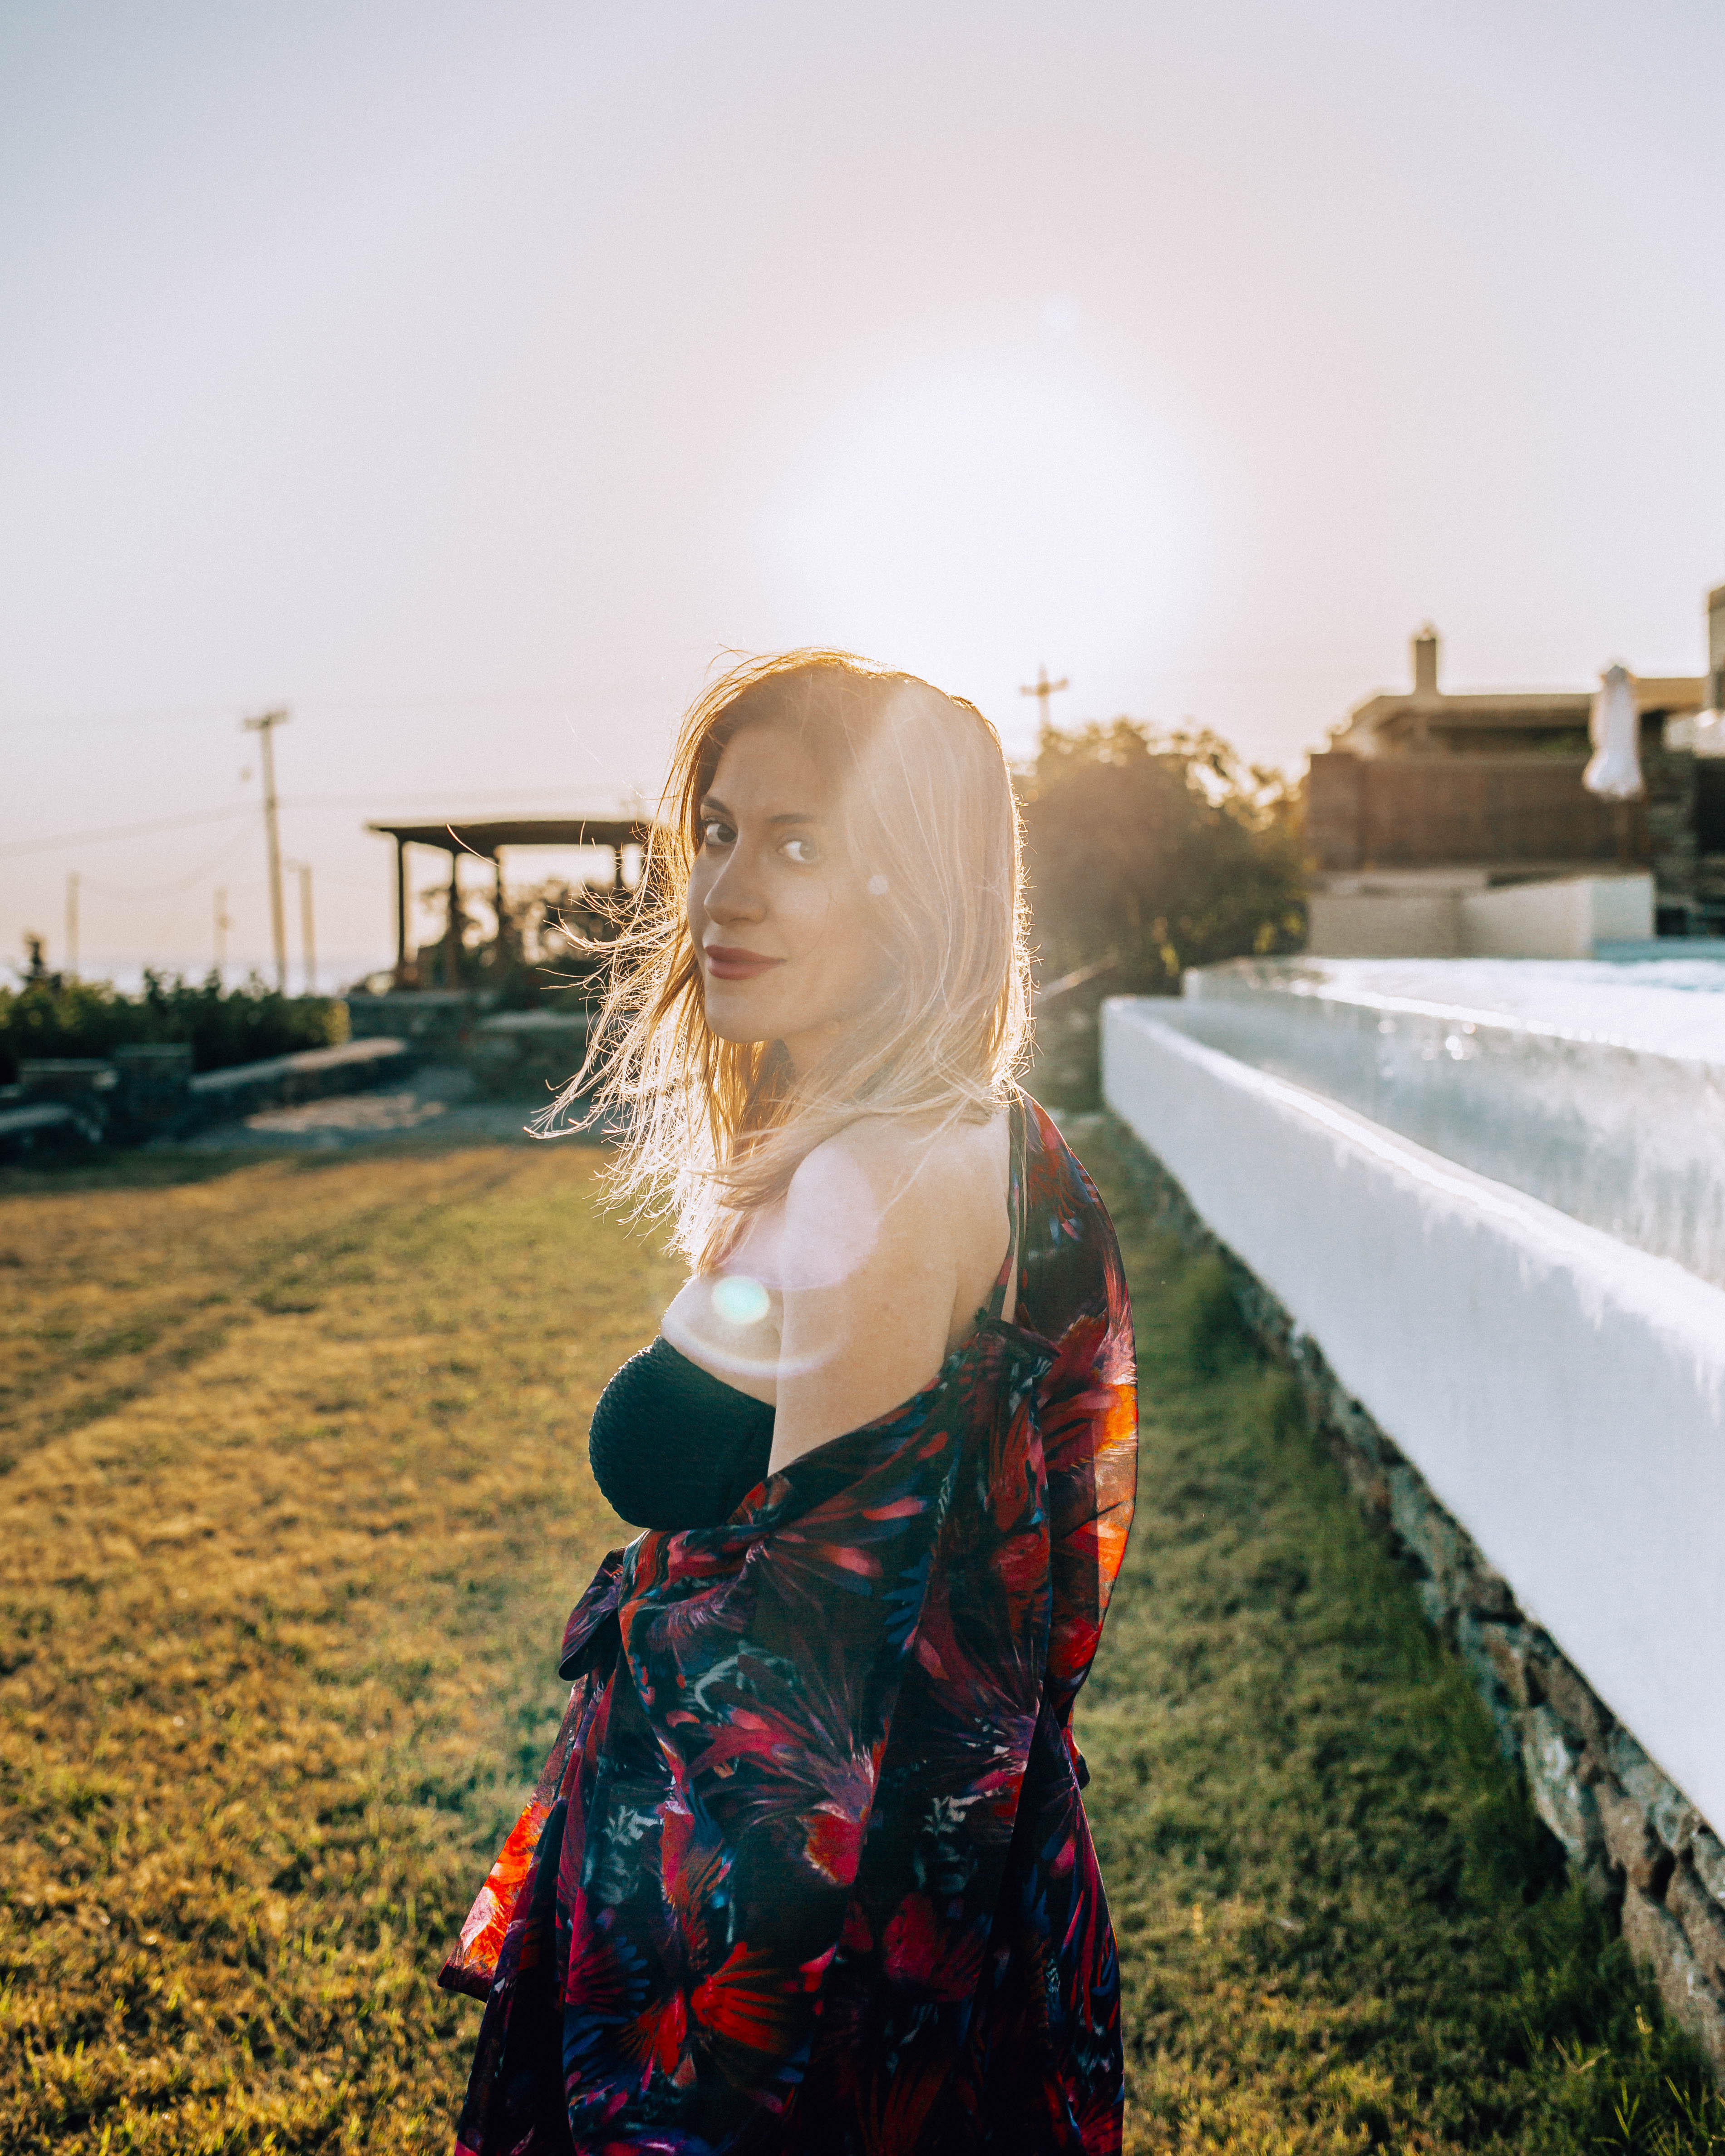
The second thing to bear in mind is the strength of the light source, and this can be soft and hard light. A soft light will make the subject looked polished, and it will remove all the blemishes and lines on your face (win-win) even though soft light is produced by a larger light source such as the sun, its good to remember that this is mainly the case during golden hours (sunrise and sunset) and cloudy days. Shooting in the middle of the day on a sunny afternoon will turn the sun into a hard light source, and it may cast shadows on your subject, so it’s important to bear in mind when deciding on when to shoot.
Exposure
Exposure consists of 3 parts shutter speed, aperture and ISO. I go in great detail about this in my photography guide to beginners but to recap, please continue reading.
The aperture affects the amount of light that enters your camera, therefore, determining the brightness of your photo and it’s measured in with an f/stop scale ranging from f/1.4 to f/22. You would keep f/stop number small to achieve brighter looking photos with a bigger depth of field or blur. My best beginner photography tips when it comes to aperture is that you can set your camera to shoot in an Aperture mode and depending on how much depth of field you like, you can set your f/stop according to this preference.
ISO allows even more light into your camera making the photos brighter however when it comes to ISO the higher the number, the brighter the photo. You should be careful with this setting as it can impact the quality of your photo. Choose the ISO amount below 6400 for the least amount of noise.
My go-to ISO setting is 100 when I shoot outdoors in daylight, 600-1600 when I shoot indoors and at sunsets or around 6400 right after the sunset or before the sunrise.
Shutter Speed
This setting is my main exposure setting and one that I adjust the most when I shoot in manual mode, which in all honesty is most of the time. My best beginner photography tips are the exposure scale that you can see on your camera’s screen or through the viewfinder. The exposure scale is set to 0 by default which means that the camera thinks that the shutter speed is at the correct level. I like my photos moodier and darker so I will drop my shutter speed to -1 on the scale, but if you do like brighter, you can increase to the plus side of the scale. This tool is a great indicator when learning your shutter speed setting and preference from the start.
Focus Modes
This setting may be little challenging to get your head around but its pretty simple. When it comes to focus modes, you can opt for AF (auto focus) and MF (manual focus). Most of the time you will be shooting in an AF, especially as a beginner. There are three main focus modes to choose from in AF mode: One Shot (Canon) and Single-Servo (Nikon); Al Focus (Canon) or Auto AF (Nikon) and Al Servo (Canon) or Continuous Servo (Nikon).
The One Shot option is the choice you should go for when you are shooting subjects that are not moving. The Al Servo or Continuous Focus is the opposite making it the best option to go for when you want to shoot moving subjects and keep them in focus. Al Focus or Automatic AF is a mode that allows the camera to jump between the One Shot and Al Servo depending on the situation. My camera is set to Al Focus and Al Servo most of the time, but I change according to the situation I’m shooting.
Once you chose your prefered focus mode as a next you should select your focus points.
You can select a single AF point or a cluster of AF points meaning that if you choose a single point, you will see only one little square indicating the focus area and if you select a cluster, you will see a cluster of small squares showing a wider focus area. You can also make all of the points active, and this is most of the time my main go to when shooting most of my photos. If however, for instance, I’m trying to be in a rule of thirds, in that case, I will select my AF point manually to the desired area of the frame. More about this in my Photgraphy Guide for Beginners.
It’s easy to change your focus points and area by pressing Press the < > button and <M-Fn> button or button to change the focus area mode, and focus points will change in the direction you decide by tilting <
 > to your prefered area of an image.
Start practising
Honestly, guys, the most important to remember is how to set up your focus and exposure properly and when is the optimal lighting to shoot your photos, but the practice is what will make you a good photographer. You can apply these basic beginner photography tips to help you step up a level and take professional looking photos whether it be with your phone or DSLR although your phone will have less functions even when you shoot raw.
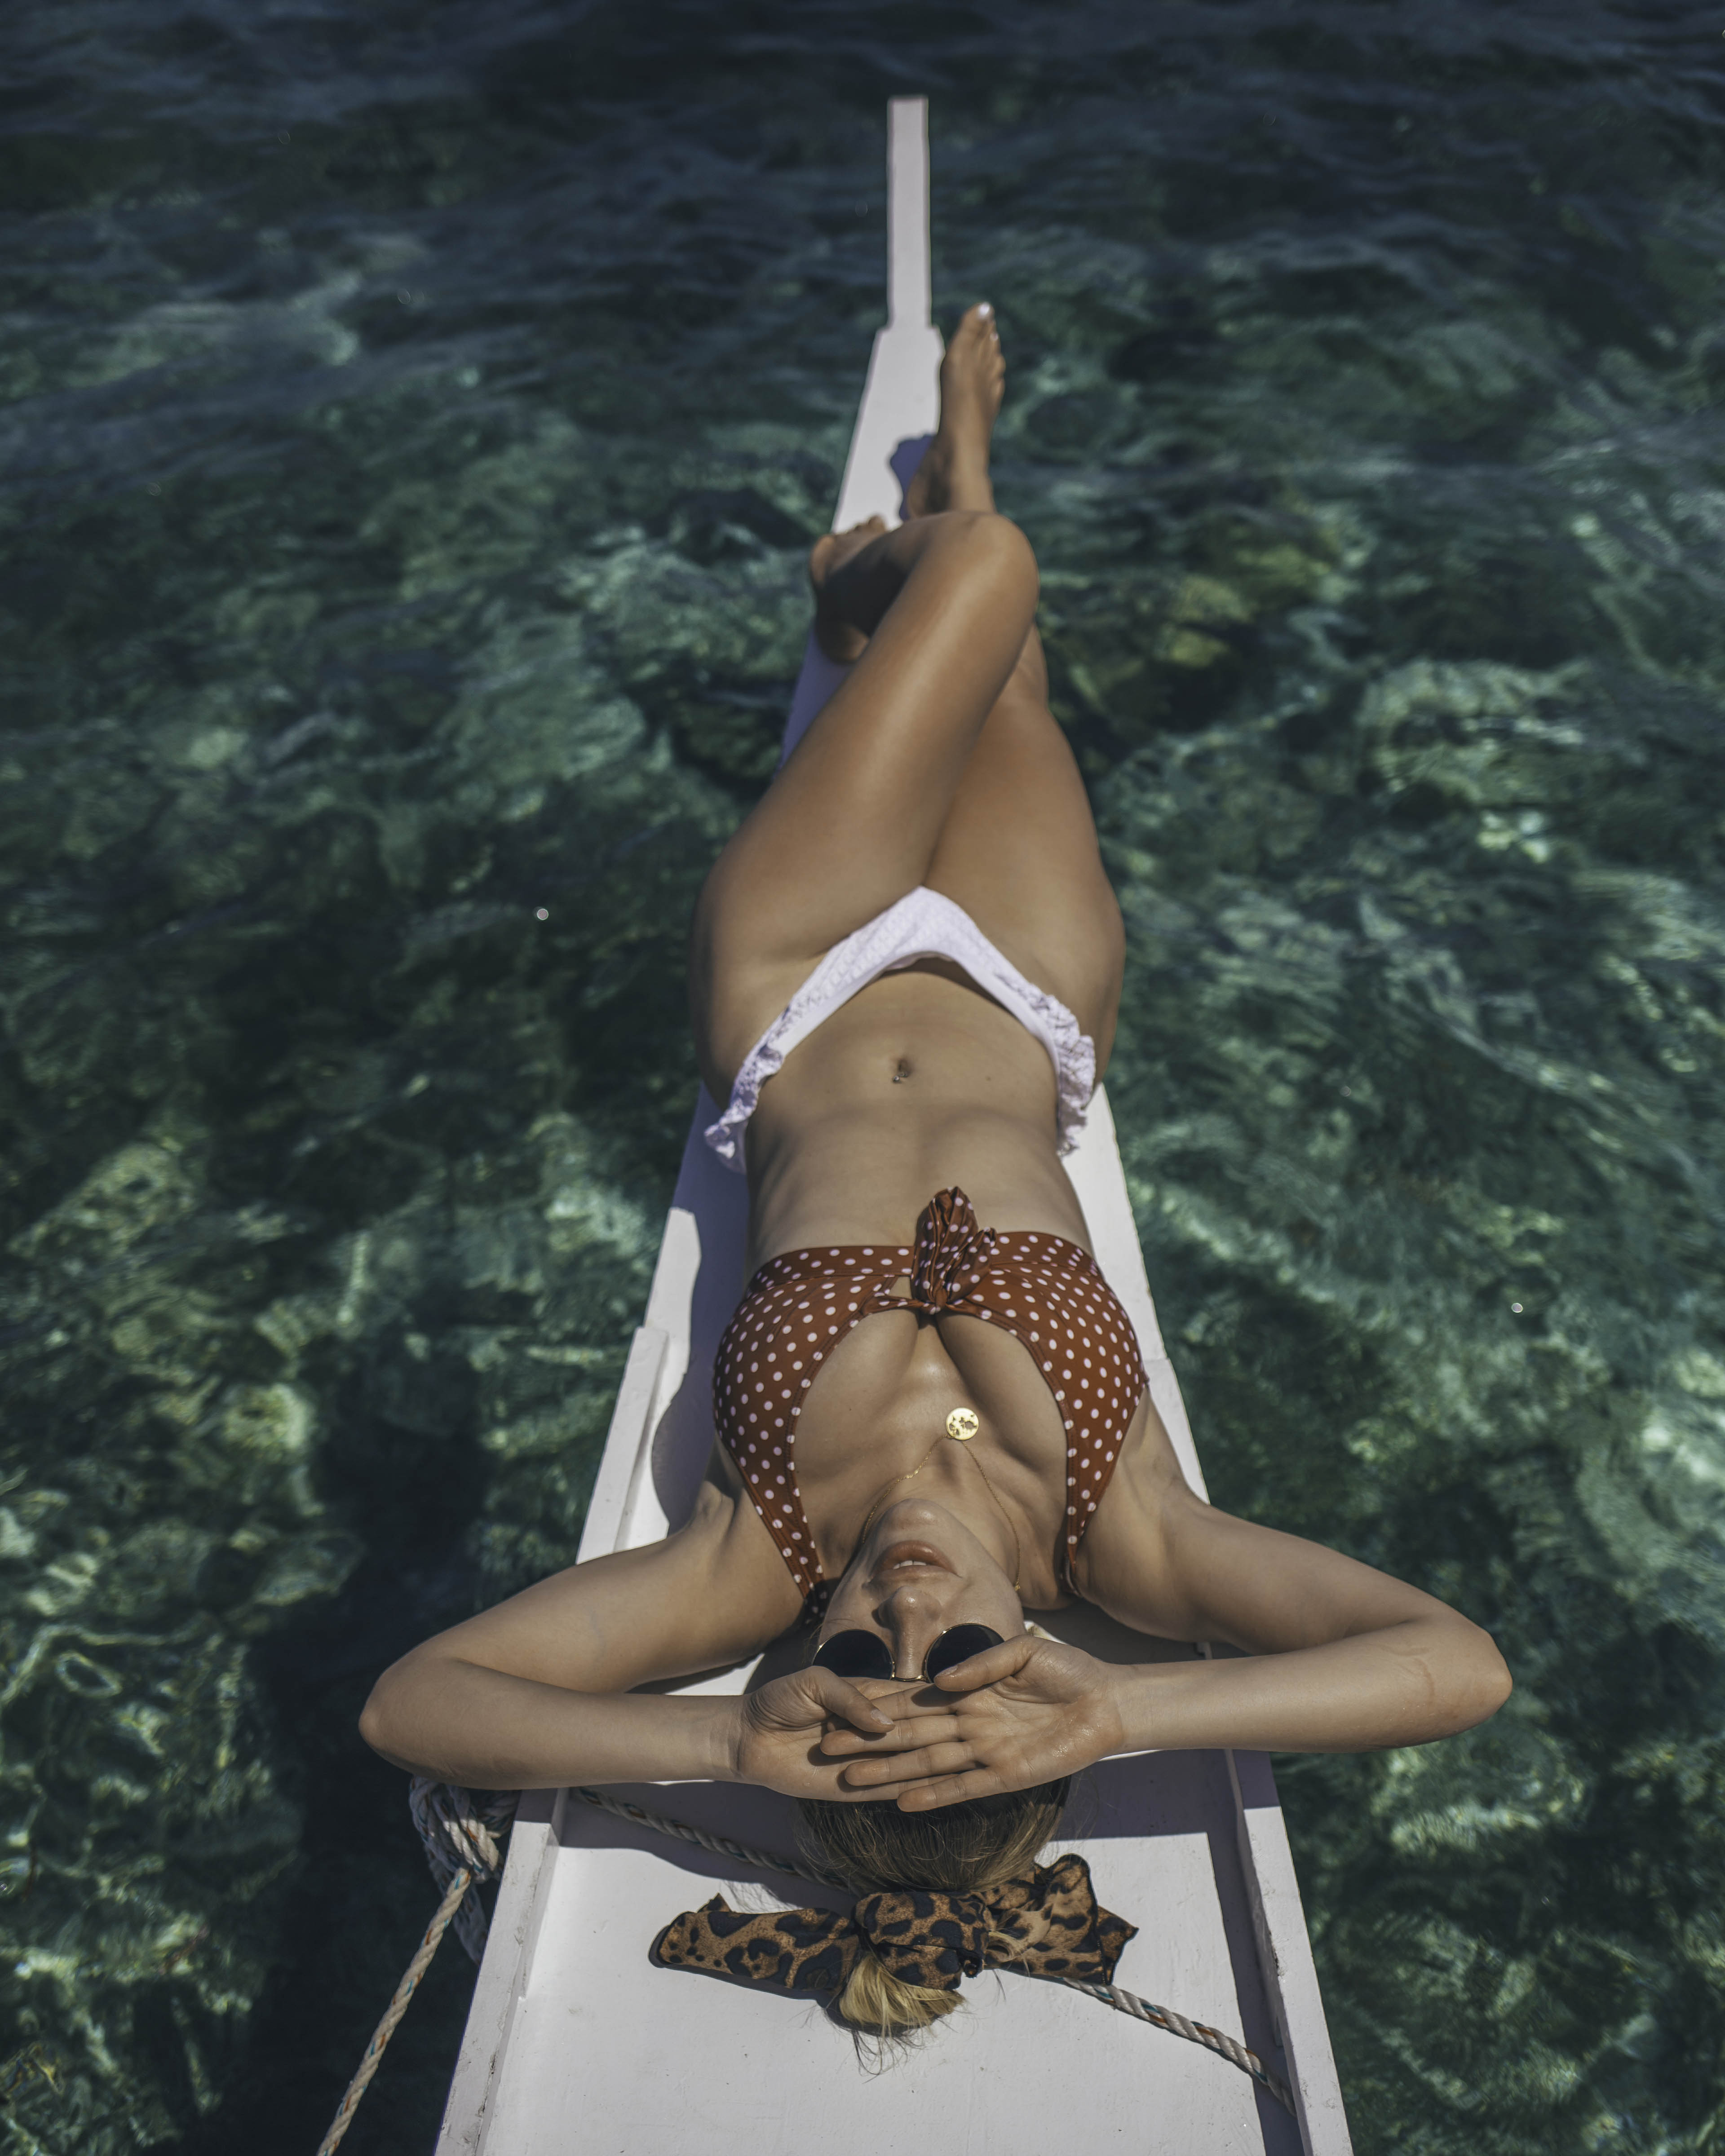
I’m sharing some of my photos captured by myself using my tripod, and I will cover this in my upcoming posts. Keep an eye as I plan to make this section update on Mondays.
If you would like to learn more about photography and shoot professional looking photos both using a DSLR and a Smartphone than check out my Beginenners Guide to Photography.
Any questions, please shoot a comment below or contact me via contact me section.
Tania xxx

Thanks for the tips! I am into photography nowadays! Love the way you style here as well!
These are such great tips!
Candice x
natalyaamour.com
I love this new series and can’t wait for more. Especially tips on how to take good photos of yourself
I’ve always been into photography but the last 6 months I’ve been practising more seriously, shooting raw on my iPhone and editing in Lightroom.
Author
Thats amazing doll. I think practice makes perfect and you can learn so much by just challenging yourslef.
Loved this post! The way you broke down lighting, exposure, and focus modes makes photography feel so much less intimidating for beginners. Really helpful tips, especially the reminder that practice is what truly improves your skills and became a good photographer.